To gain meaningful insights and optimize your software development processes, it's crucial to connect multiple applications and enable projects in Keypup. By connecting and enabling all your active apps and projects, you can enhance visibility into your end-to-end software development workflows. In this tutorial, we will guide you through the process of connecting apps and enabling projects and repositories in Keypup, empowering you to harness the full potential of your metrics.
With Keypup, you control the applications and projects connected to the platform. During your onboarding, you will be prompted to select at least one application and one project to enable the associated dashboards and metrics. However, you can easily connect additional applications and projects at any point after your onboarding process.
To get started, simply follow the step-by-step instructions below:
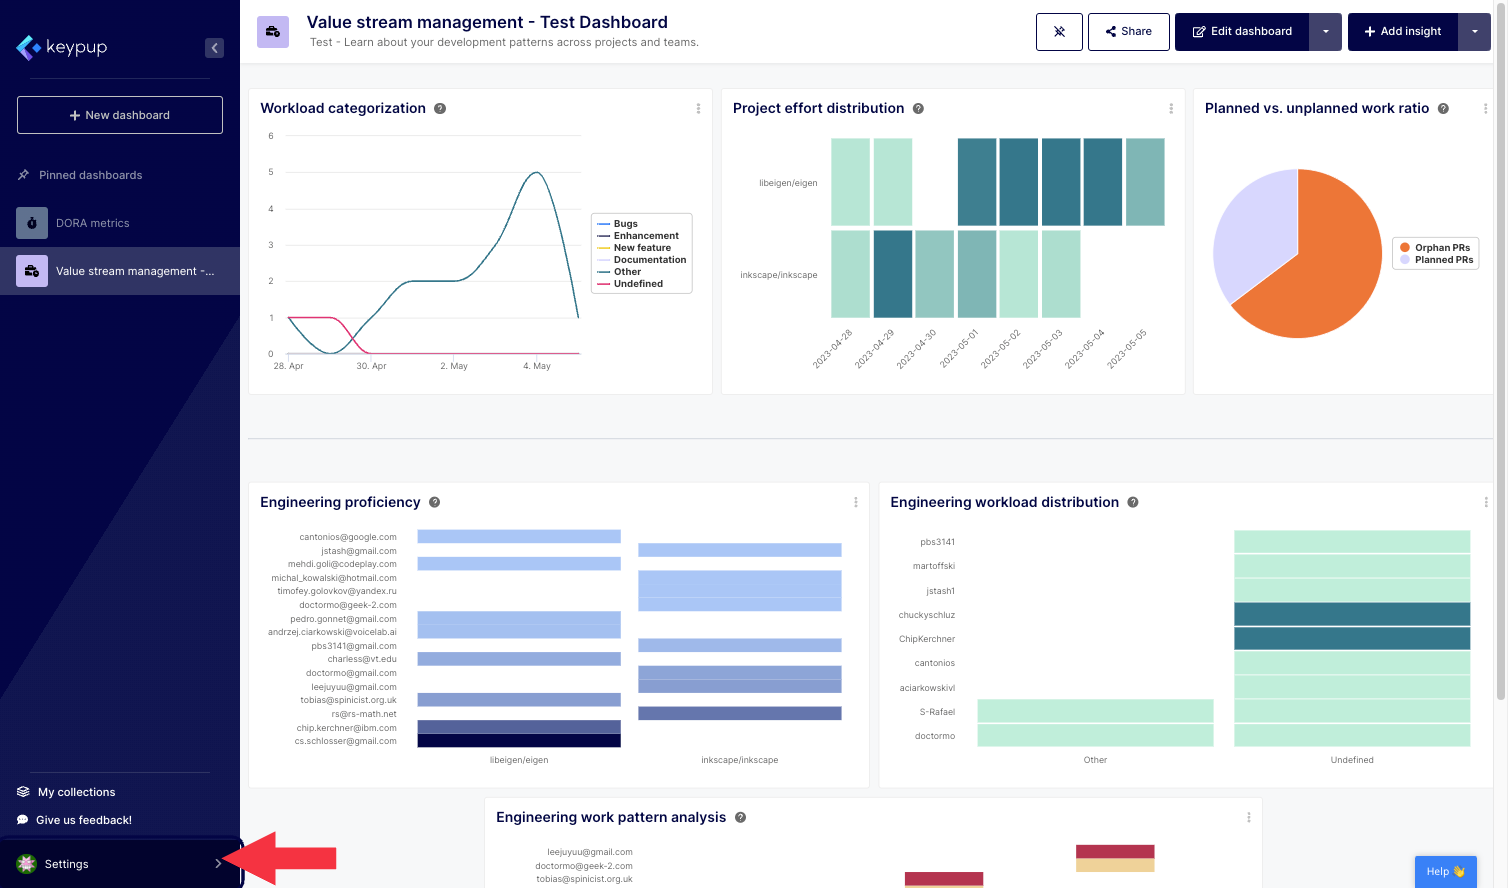
1. First, click on the “Settings” button located at the bottom of the left navigation panel.
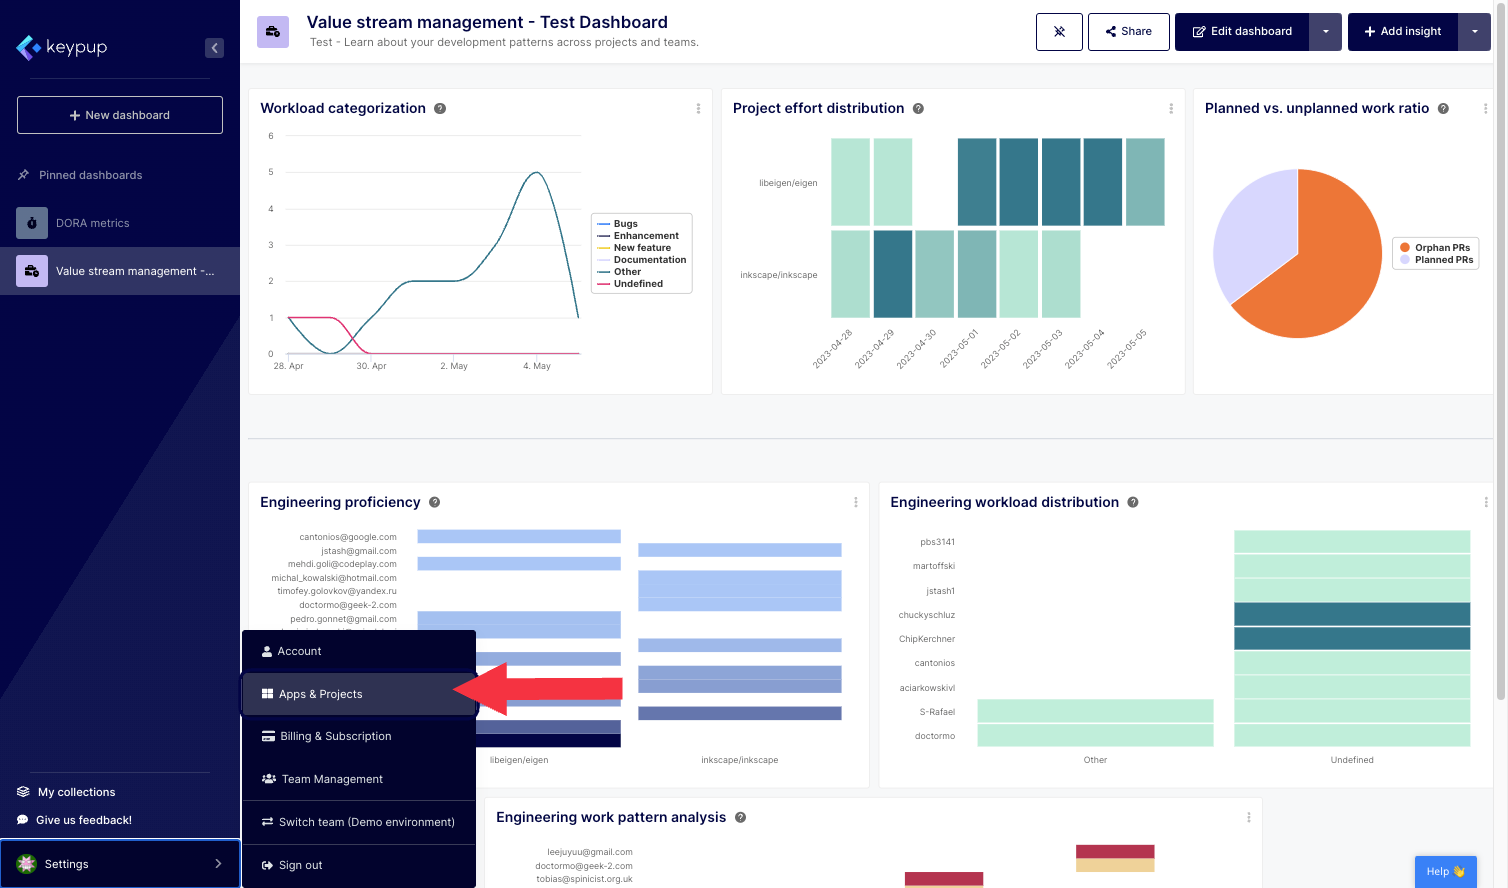
2. Then, select “Apps & Projects”.
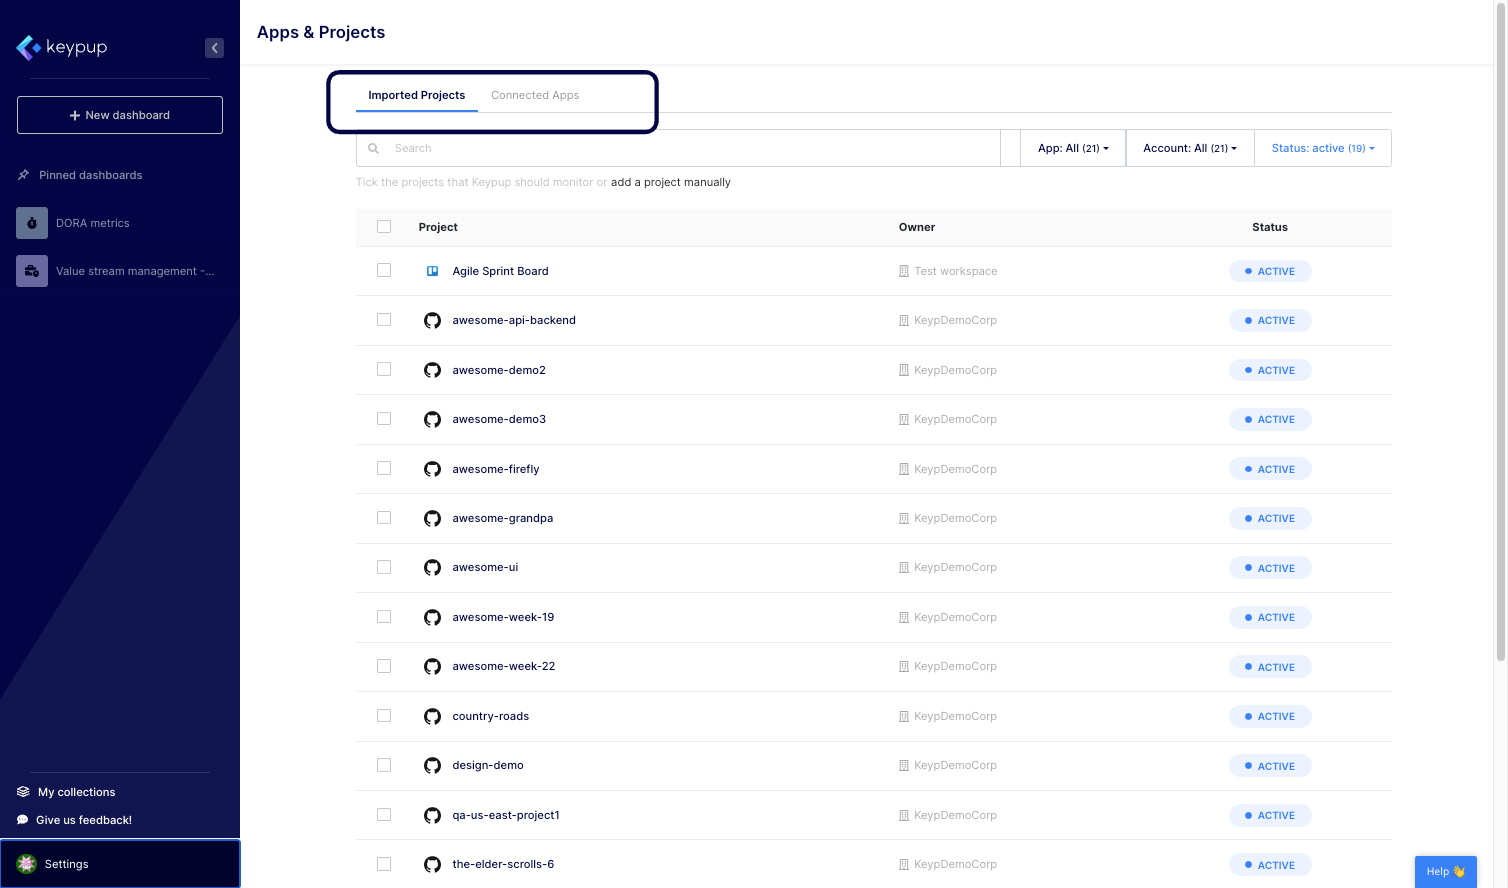
3. From this page, you can navigate to the “Connected Apps” tab located at the top of the page.
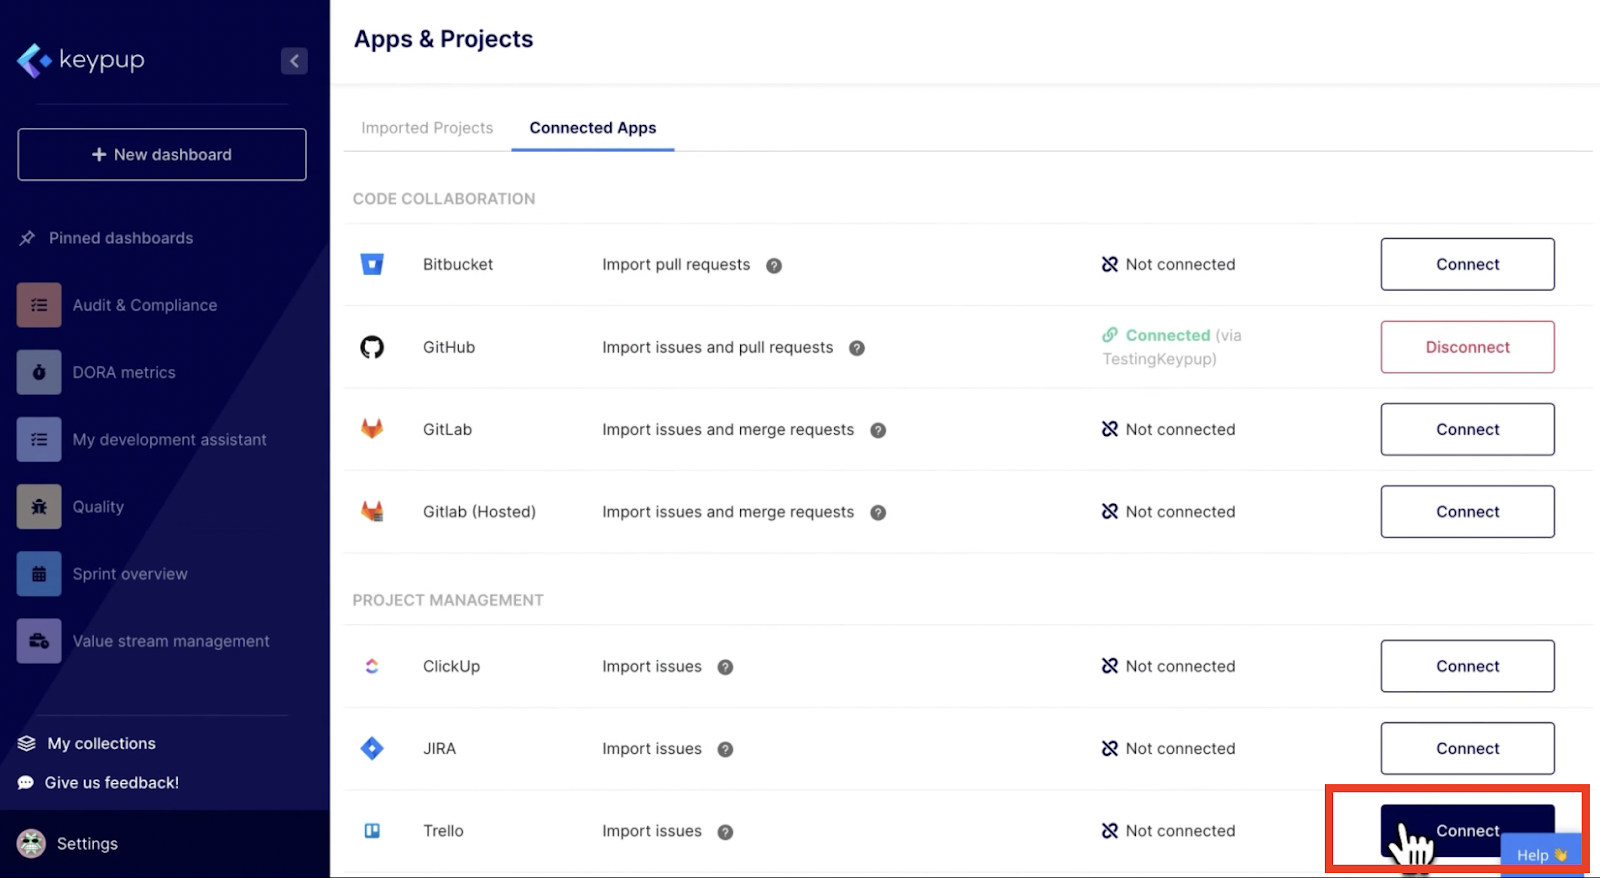
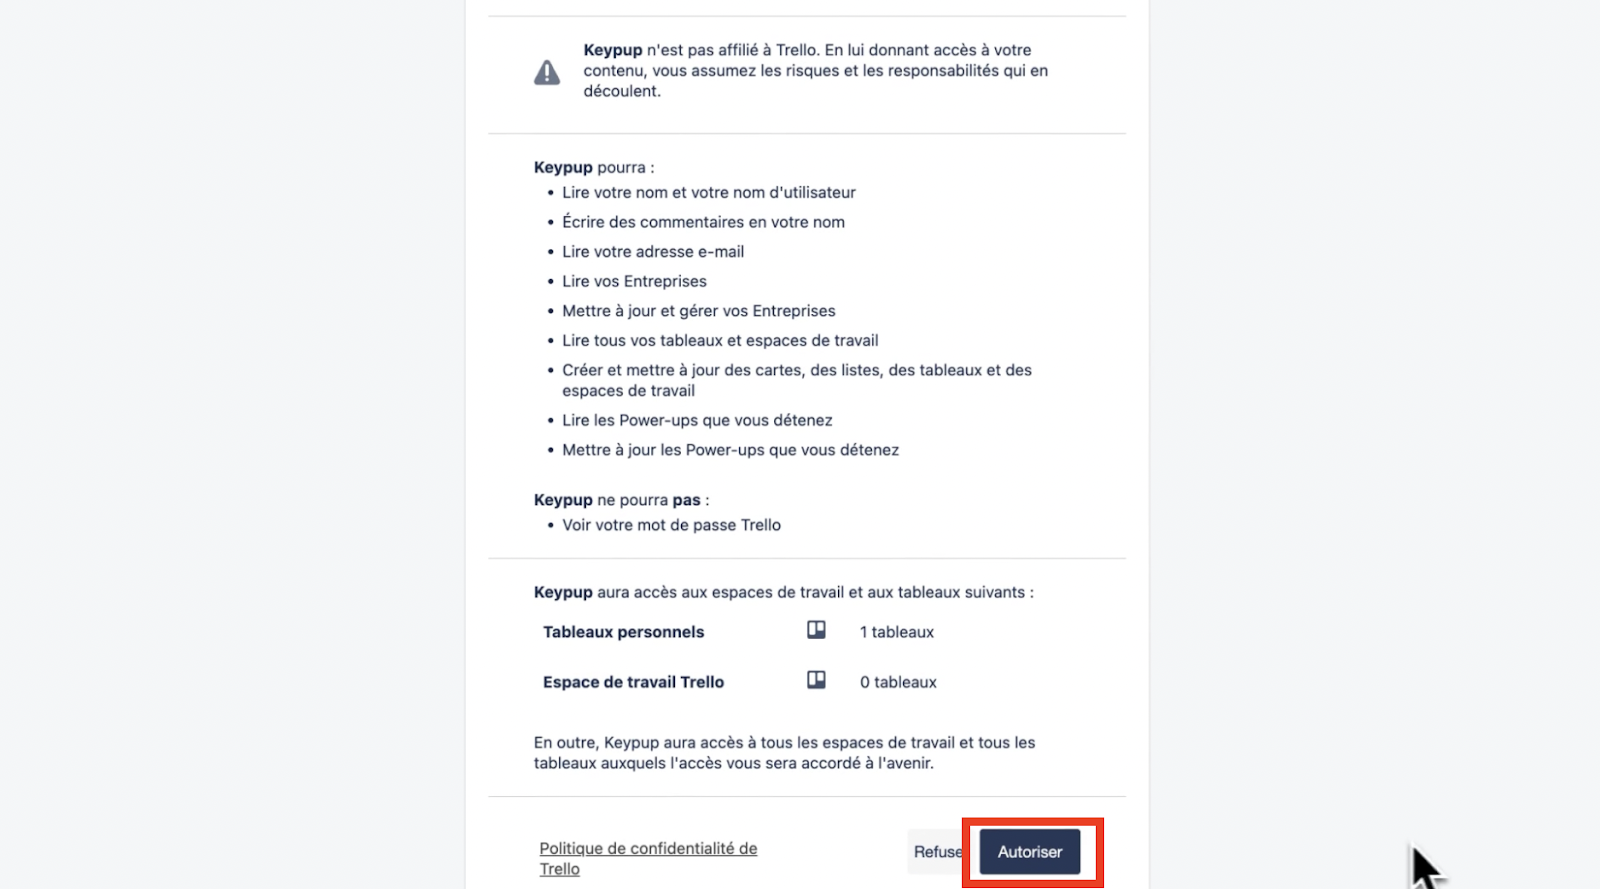
4. Click on the “Connect” button located at the right of the application you would like to connect. In this example we will choose Trello. Note that for Jira, you have the ability to connect multiple Jira sites by clicking on the “+” button located next to the Jira connected site.
5. You’ll be directed to the selected application authorization page. Scroll down the page and authorize the application.
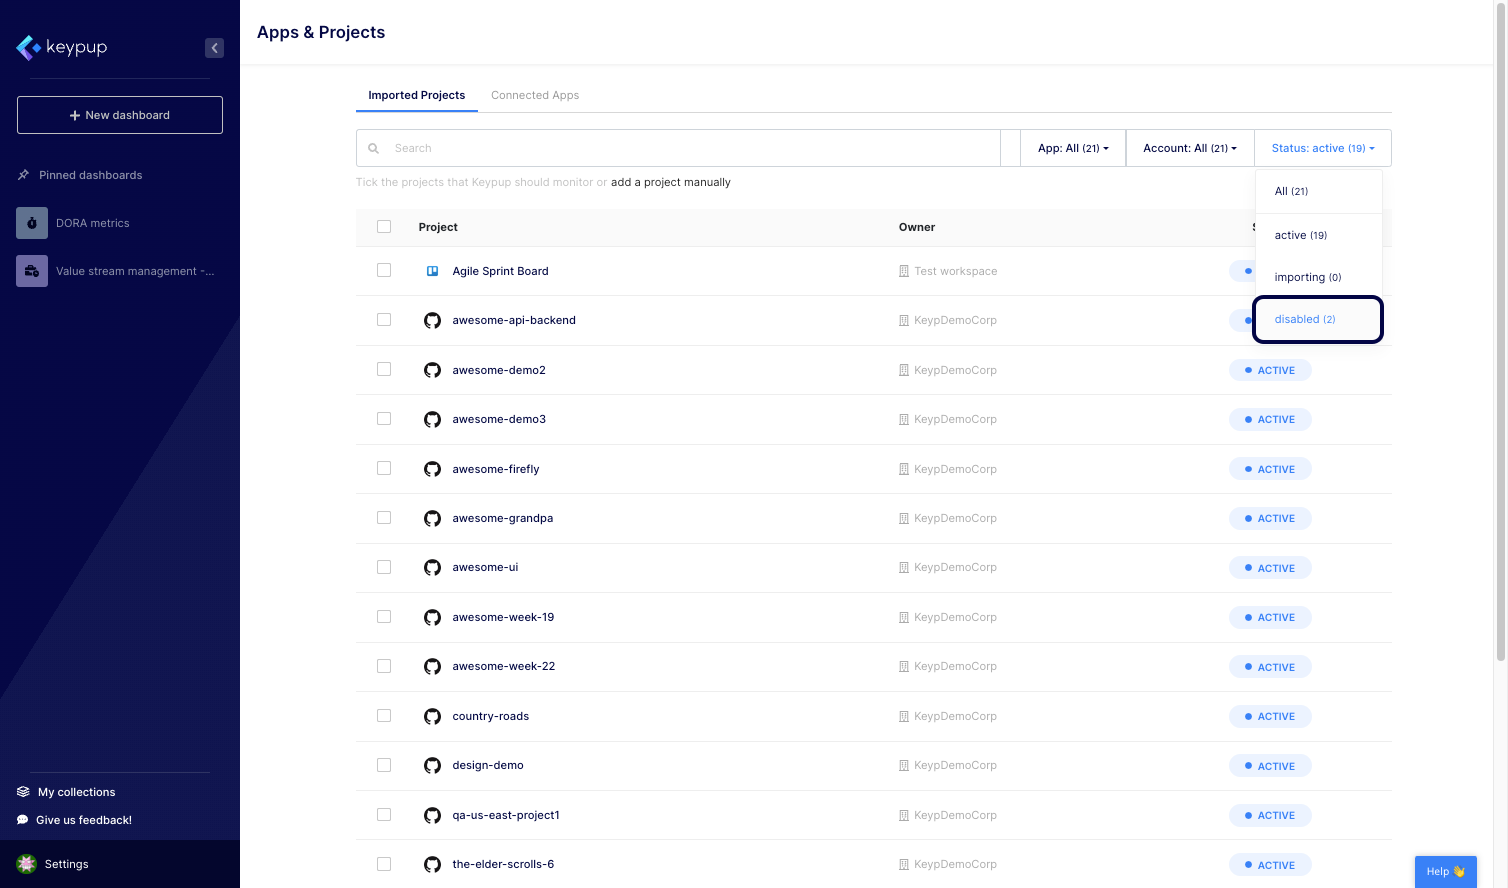
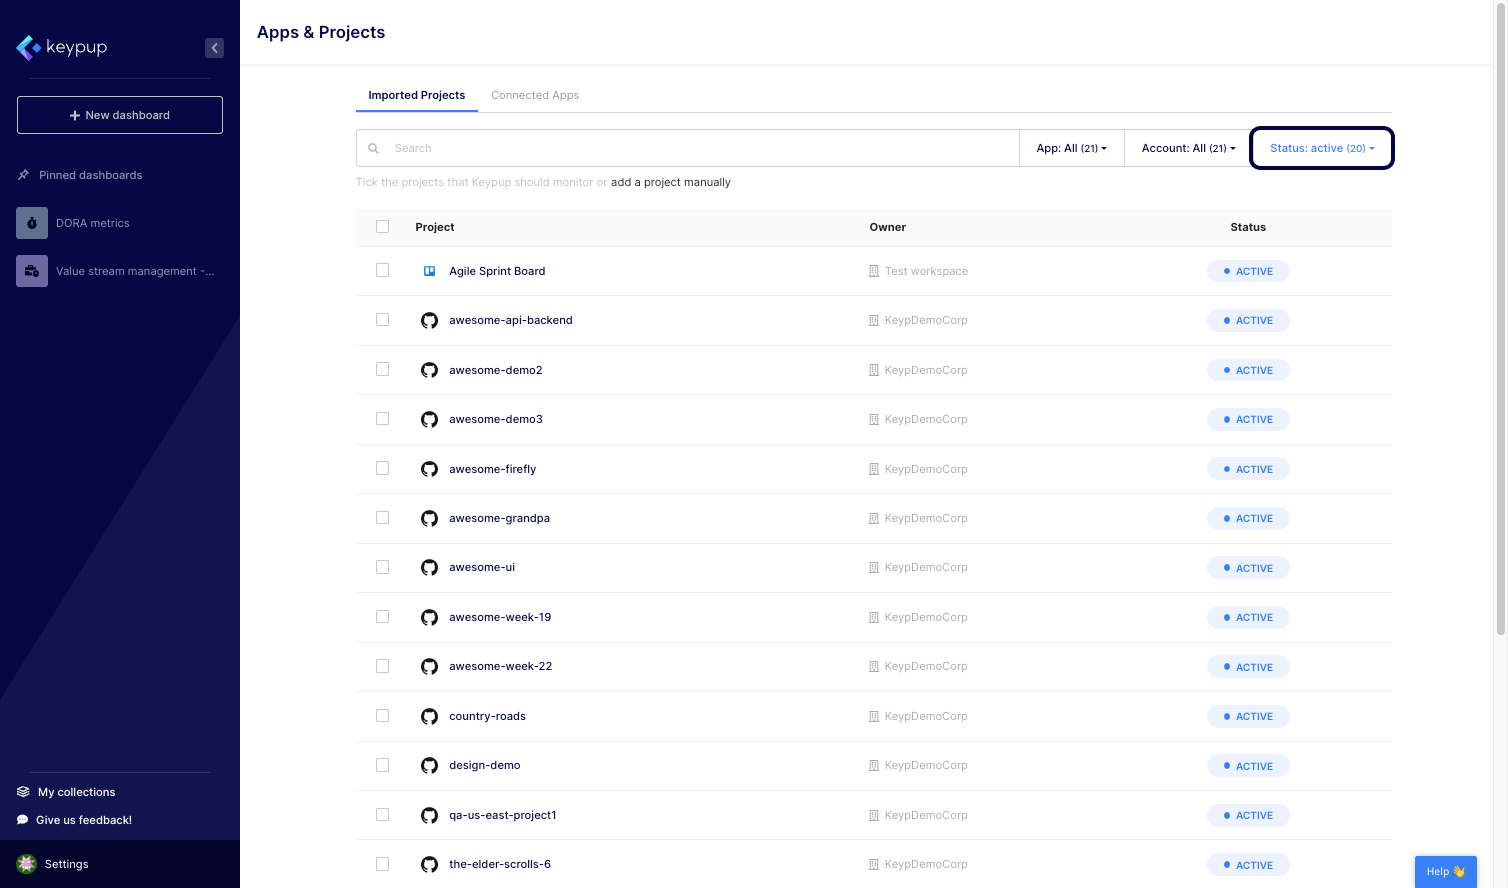
6. You’ll be redirected to the “Imported projects” tab of the Apps and Projects page.
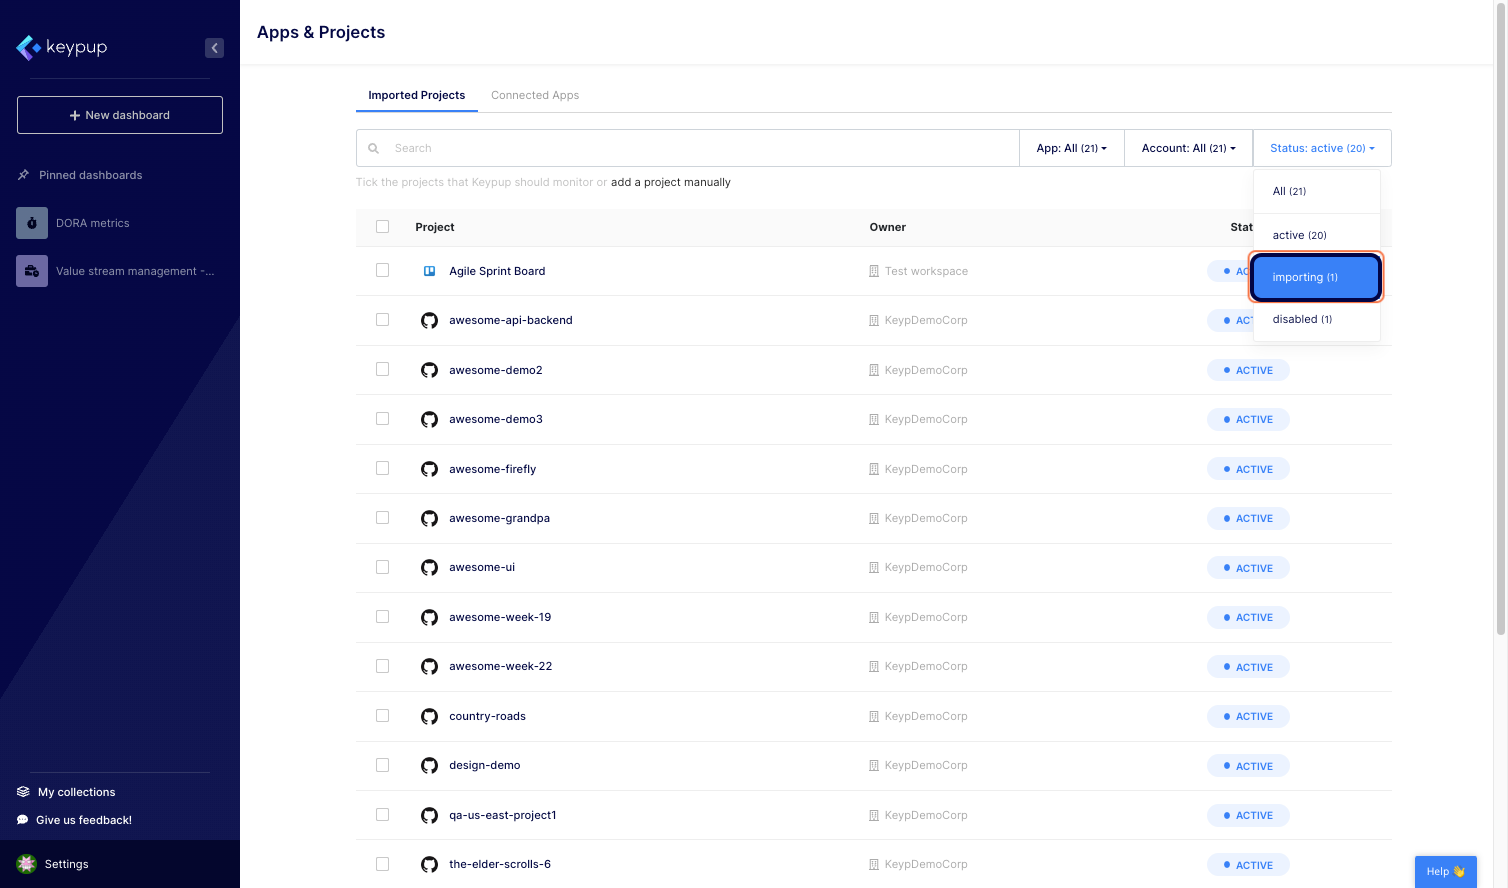
7. Click on the “Status” dropdown to select the disabled projects.
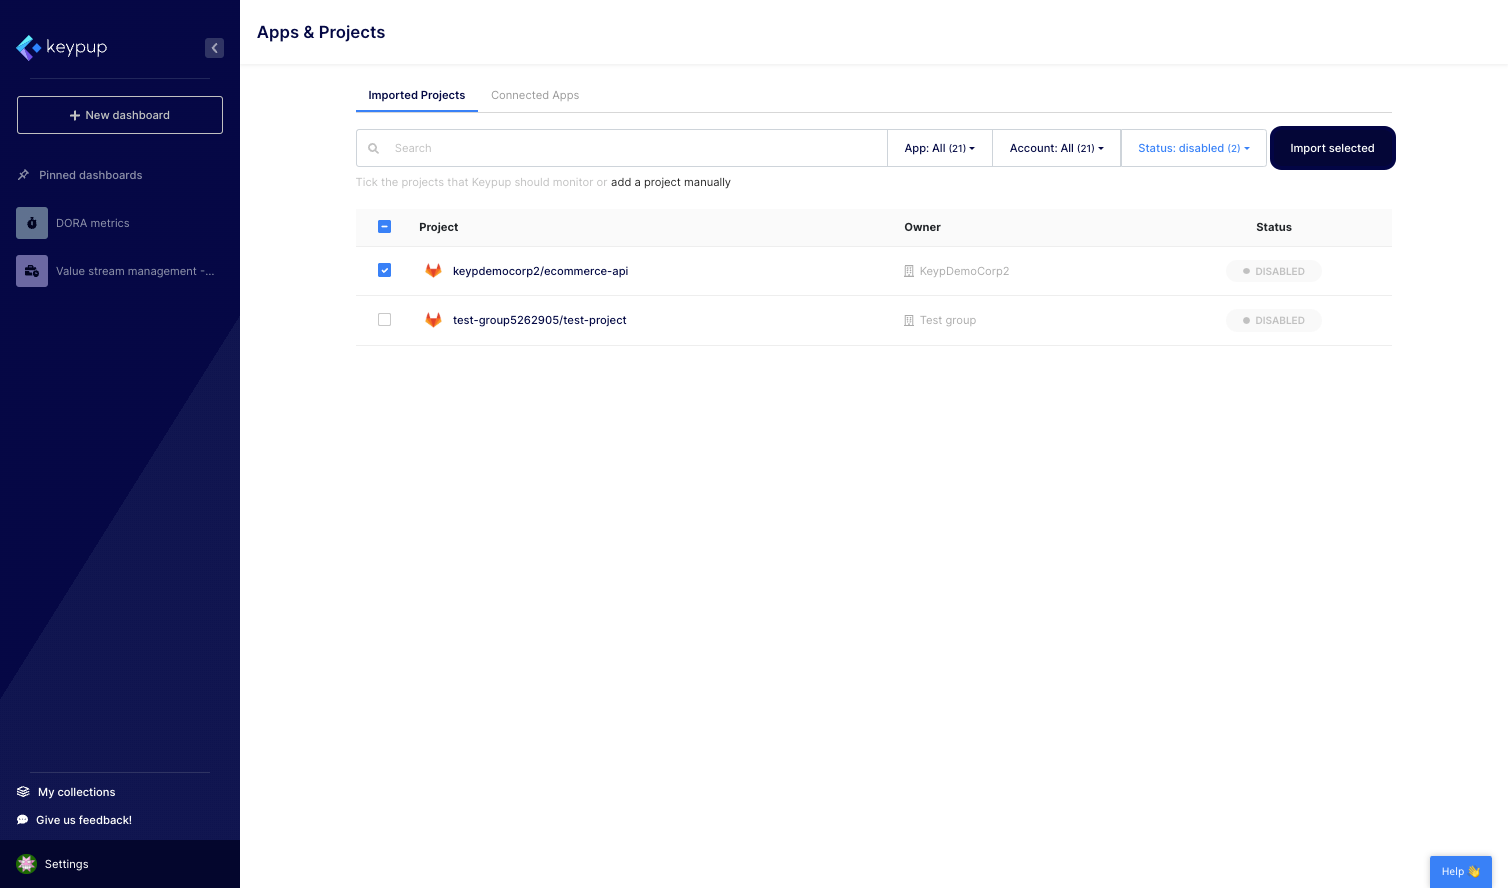
8. Check the corresponding boxes located at the left of all the projects you wish to import in Keypup.
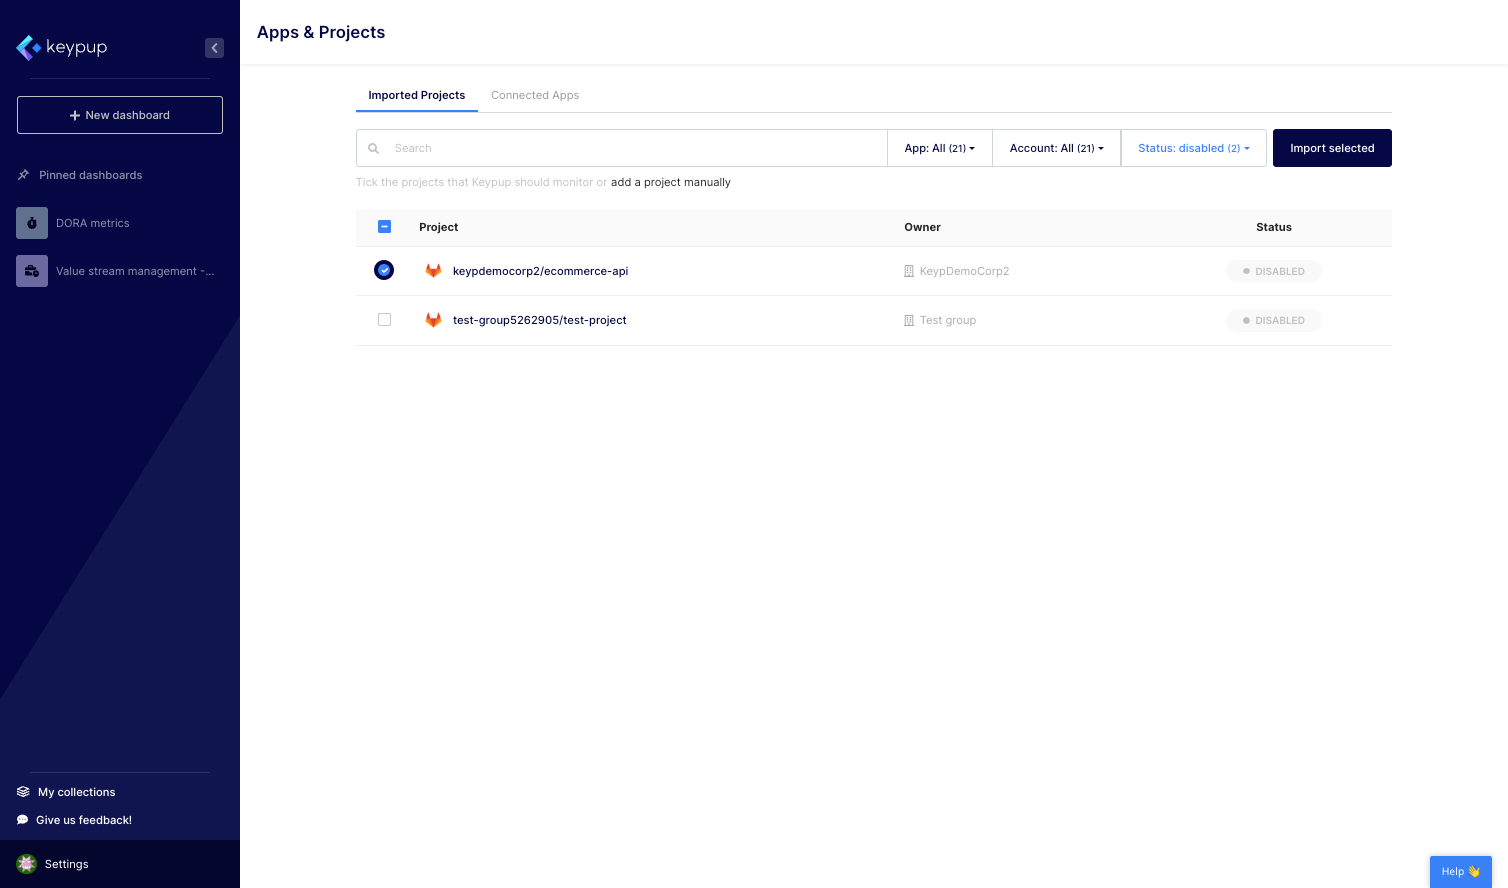
9. Then, click on the “Import selected” button located at the top right of the page.
10. You can monitor the import status from this page as well as from the toaster located at the top right of any page in the platform. Based on your project size, the import duration may vary. In any case, you’ll be informed via email once your projects are ready to explore.
By connecting apps and enabling projects in Keypup, you unlock the power to analyze and optimize your software development processes comprehensively. This integration allows you to leverage the full potential of Keypup's metrics and dashboards, empowering you to make informed decisions and drive successful outcomes.
Follow the steps outlined in this tutorial to connect your apps and enable projects, and take control of your software development analytics in Keypup. If you haven’t yet, sign up here to start your data-driven engineering journey.